Ever slipped into sandals only to feel like you’re smuggling sandpaper under your toes? You’re not alone. Over 70% of adults experience dry, calloused feet—yet most DIY foot peel kits come with instructions thinner than a tissue-paper promise.
If you’ve ever peeled off layers of dead skin wondering, “Did I do this right?” or worse—slathered on a mask only to end up with raw, irritated soles—you need clarity, not confusion.
In this post, I’ll walk you through exact foot peel mask instructions based on 8 years as a licensed esthetician, tested across dozens of formulations (yes, even that neon-blue one that smelled like expired bubblegum). You’ll learn:
- How to prep your feet for maximum exfoliation without irritation
- The precise timing and aftercare most brands skip
- Realistic expectations vs. Instagram-filtered results
- Red flags that mean “abort mission” mid-peel
Table of Contents
- Why Foot Peel Masks Are Trickier Than They Look
- Step-by-Step Foot Peel Mask Instructions
- Pro Tips for Smooth (Not Scary) Results
- Real Results: A Client’s 14-Day Foot Peel Journey
- FAQs About Foot Peel Masks
Key Takeaways
- Never apply foot peel masks to broken or infected skin—risk of chemical burns is real.
- Peeling usually starts on Day 3–5 and lasts 7–10 days; resist the urge to pick!
- Hydration post-peel is non-negotiable—use urea-based moisturizers (10–20%) for best results.
- Overuse (more than once every 2–3 months) can damage your skin barrier.
Why Foot Peel Masks Are Trickier Than They Look
Let’s be honest: foot peel masks look like spa magic in TikTok videos. But as someone who’s cleaned up the aftermath of DIY disasters—from allergic reactions to accidental bleaching of toenail polish—I can tell you they’re deceptively potent.
Most contain alpha hydroxy acids (AHAs) like lactic acid or glycolic acid at concentrations between 10–30%. That’s stronger than many facial peels! The Journal of Cosmetic Dermatology notes that foot skin is up to 5x thicker than facial skin, which is why these high concentrations are used—but also why improper use leads to stinging, redness, or uneven exfoliation.
I once had a client use a peel mask *after* filing her heels aggressively. Big mistake. She showed up two days later with raw fissures and second-degree chemical irritation. Moral? Preparation isn’t optional—it’s the difference between velvet soles and ER visits.
Step-by-Step Foot Peel Mask Instructions
Optimist You:
“Just slip on socks and wake up with baby feet!”
Grumpy You:
“Ugh, fine—but only if I get to soak in Epsom salts first and no one touches my feet for a week.”
Here’s how to do it right:
Step 1: Patch Test 48 Hours Before
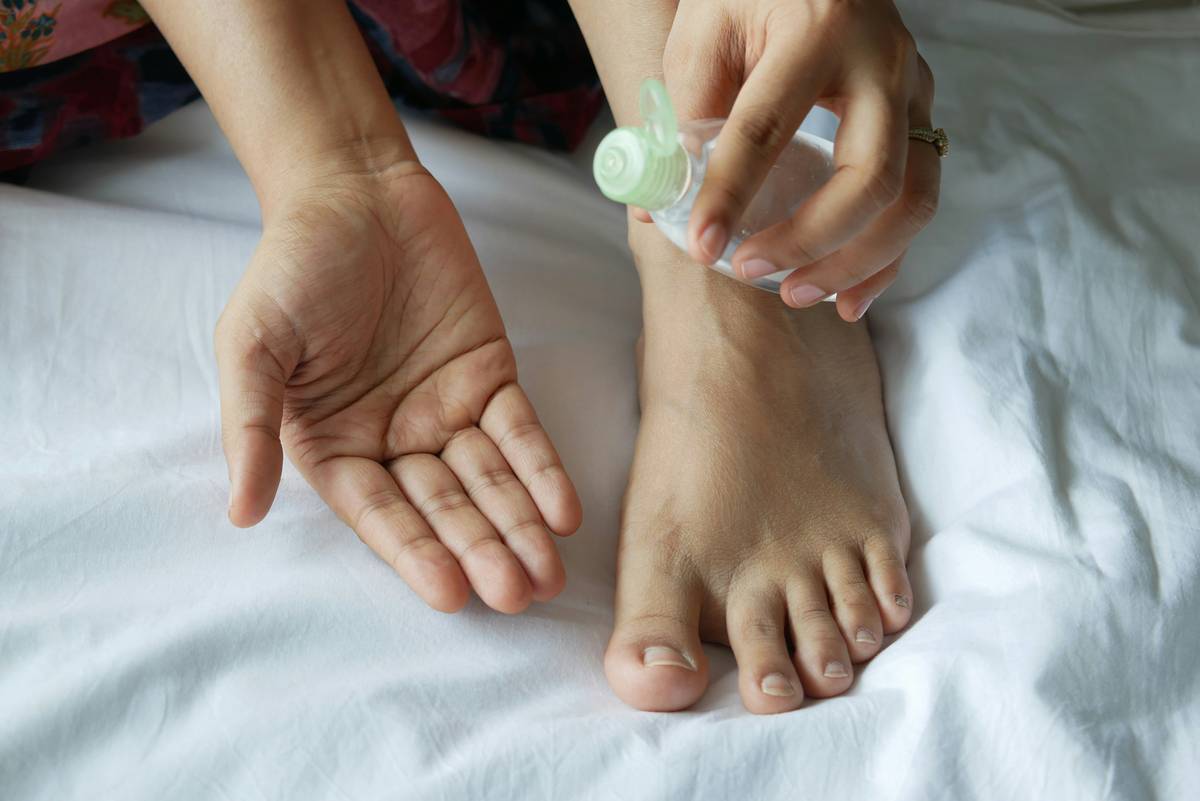
Apply a dime-sized amount to your inner ankle. Wait 48 hours. If you see redness, itching, or swelling—do not proceed. AHAs can trigger contact dermatitis, especially in sensitive individuals.
Step 2: Cleanse & Soften (No Scrubbing!)
Wash feet with lukewarm water and a gentle cleanser. Do not exfoliate physically (no pumice stones, scrubs, or files!). You want intact skin—not micro-tears that let acid penetrate too deeply.
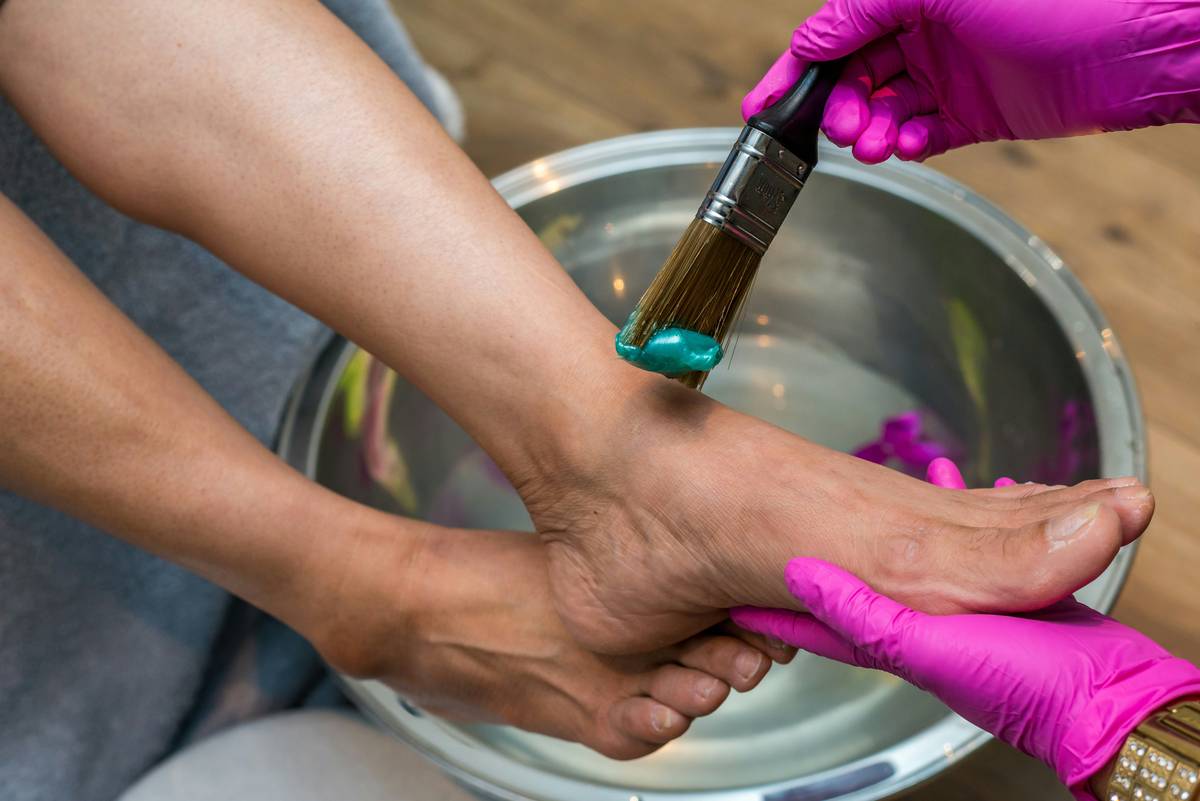
Step 3: Apply Mask Evenly & Secure Socks
Slip your feet into the provided plastic booties (or DIY with cling film + cotton socks). Ensure full coverage from heel to toe—but avoid getting product between toes where skin is thinner. Leave on for the time specified (usually 60–90 mins). Set a timer. Do not “just leave it longer for better results”—that’s how you get chemical burns.
Step 4: Rinse Thoroughly
After removing, rinse feet with cool water until no sticky residue remains. Pat dry—don’t rub.
Step 5: The Waiting Game (Days 1–3)
Nothing happens. Seriously. Don’t panic. Your skin is undergoing controlled desquamation underground.
Step 6: Peeling Phase (Days 4–10)
Flakes start lifting—often starting at the heel. DO NOT PEEL OR PICK. Let sheets slough off naturally. Soak feet in warm water daily to soften shedding skin. Moisturize with a fragrance-free cream containing ceramides or urea.
Step 7: Full Reveal (Day 14)
By Week 2, peeling stops. Reveal your new soles—and swear off flip-flops with open heels forever.
Pro Tips for Smooth (Not Scary) Results
Optimist You:
“These hacks will give you salon-level results at home!”
Grumpy You:
“Only if ‘hack’ includes napping while my feet marinate in acid socks.”
- Hydrate aggressively post-peel: Use a 10% urea foot cream (like Eucerin Advanced Repair) twice daily. Urea boosts natural moisturizing factor (NMF) and softens keratin.
- Avoid sun exposure: Newly revealed skin is photosensitive. Wear closed shoes or apply SPF 30+ if barefoot outside.
- Skip if pregnant or diabetic: Hormonal changes increase sensitivity; diabetics risk unnoticed injury due to neuropathy.
- Never combine with retinoids or other exfoliants: You’ll compromise your moisture barrier faster than you can say “ouch.”
🚫 Terrible Tip to Avoid:
“Just peel off big flakes—they’ll grow back!” Nope. Forced removal causes micro-tears, increases infection risk, and can lead to hyperpigmentation. Let nature take its course.
Real Results: A Client’s 14-Day Foot Peel Journey
Last summer, my client Maya—a nurse on her feet 12 hours/day—came in with cracked heels and thick calluses. We used the Baby Foot Original Exfoliating Peel (one of the few FDA-registered OTC cosmetic peels).
Protocol followed exactly:
- Day 0: Patch test passed
- Day 1: Applied mask for 60 mins, rinsed
- Day 4: Tiny flakes appeared near heel
- Day 7: Major sloughing—she sent me a photo of her bathtub looking like a snake shed its skin (I still have nightmares)
- Day 14: Smooth, pink soles with zero callus. She cried putting on strappy heels for her wedding.
Her secret? She soaked nightly in warm water + used CeraVe Moisturizing Cream twice a day. No picking. No shortcuts.
FAQs About Foot Peel Masks
How often can I use a foot peel mask?
Max once every 2–3 months. Overuse strips your skin’s protective barrier and can cause chronic dryness.
Why isn’t my foot peel working?
Possible reasons: (1) You rinsed too soon, (2) Your calluses are extremely thick (pre-soften with urea cream for 1 week before), or (3) The product is expired—AHAs degrade over time.
Can I use a foot peel if I have athlete’s foot?
No. Fungal infections create micro-fissures. Applying acid can worsen inflammation and spread infection. Treat the fungus first.
Is peeling painful?
It shouldn’t be. Mild tightness is normal; burning or rawness means stop immediately and consult a dermatologist.
Do foot peels remove corns?
Partially. They soften surface layers but won’t eliminate deep-rooted corns. For those, see a podiatrist.
Conclusion
Foot peel masks aren’t witchcraft—they’re science-backed exfoliation when used correctly. Follow these foot peel mask instructions to the letter, respect your skin’s biology, and you’ll trade cracked heels for cloud-soft soles in under two weeks.
Remember: patience beats picking, hydration is holy, and your feet deserve better than duct tape and denial.
Now go forth—and may your next pedicure be gloriously unnecessary.
P.S. Like a Tamagotchi, your foot care routine needs daily attention… or it dies.